Configuration of Ethernet/USB and WiFi interface
Depending on the product series, different interfaces are available for configuration with the control PC.
(Dynamic IP)
(Static IP)
Configuration of DEDITEC modules
In order to be able to address the DEDITEC product via Ethernet, it must be provided with the corresponding network settings. The following options are available for configuration:
- USB
- Ethernet / Dynamic IP
- Ethernet / Static IP
- Web interface
- WiFi
USB interface (product-dependent)
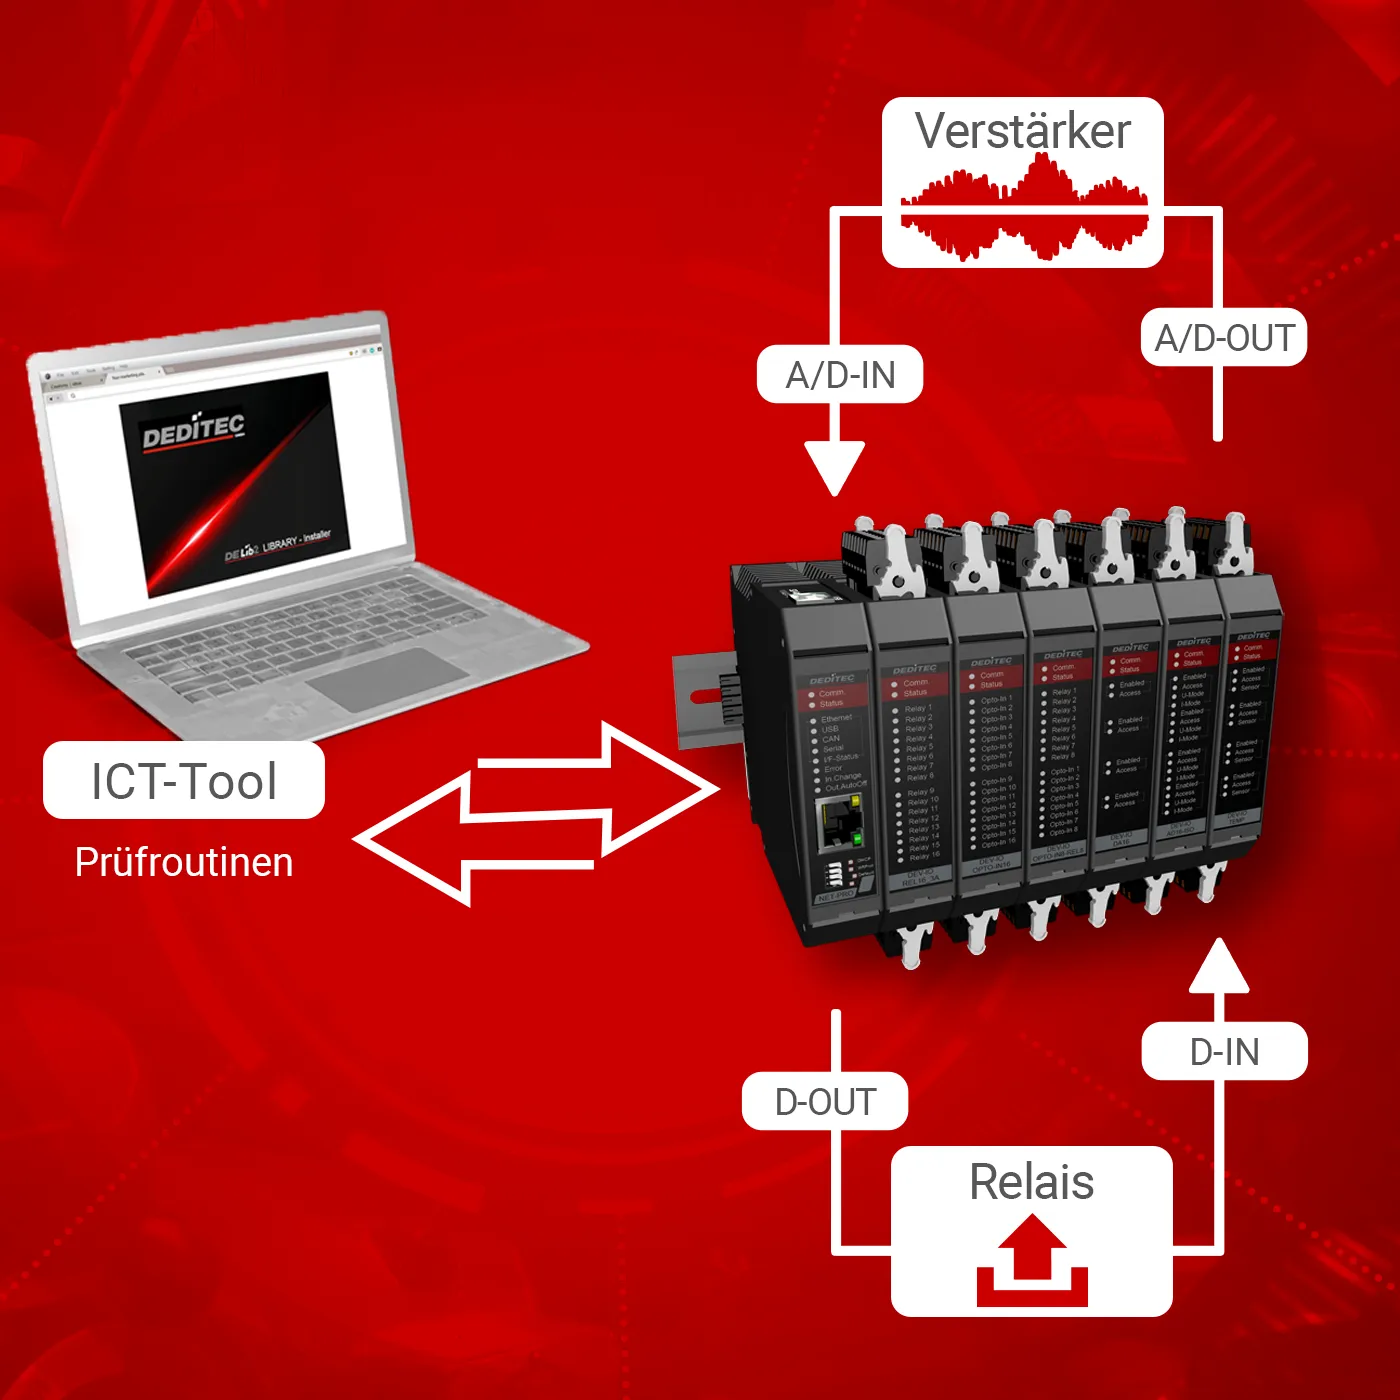
Connect the DEDITEC module to your PC via USB cable. Thanks to the Plug & Play function and the DELIB driver library, our modules are automatically recognized by your computer's operating system. You can now access the module with our ICT-Tool and make the network settings in the configuration menu.
Ethernet DHCP (dynamic IP address)
In DHCP mode, the DEDITEC module is automatically assigned a free IP address and the appropriate network settings by a DHCP server. The following options are available for activating DHCP mode:
- Activation via DIP switch
- Activation via the network search function in the "Edit / Add menu" of the ICT-Tool
- Activation via the "Module configuration menu" of the ICT-Tool
- Activation via the web interface of the module
1. Activation via DIP switch
DHCP mode can be activated on all DEDITEC modules with DIP switch 1.
2. Activation via the network search function in the "Edit / Add menu" of the ICT-Tool
In the "Edit / Add menu" of the ICT-Tool, you can scan the network for connected DEDITEC modules. Any modules found are then displayed in a list view where they can be configured and saved.
Click on the "Edit" button in the line of the desired module.
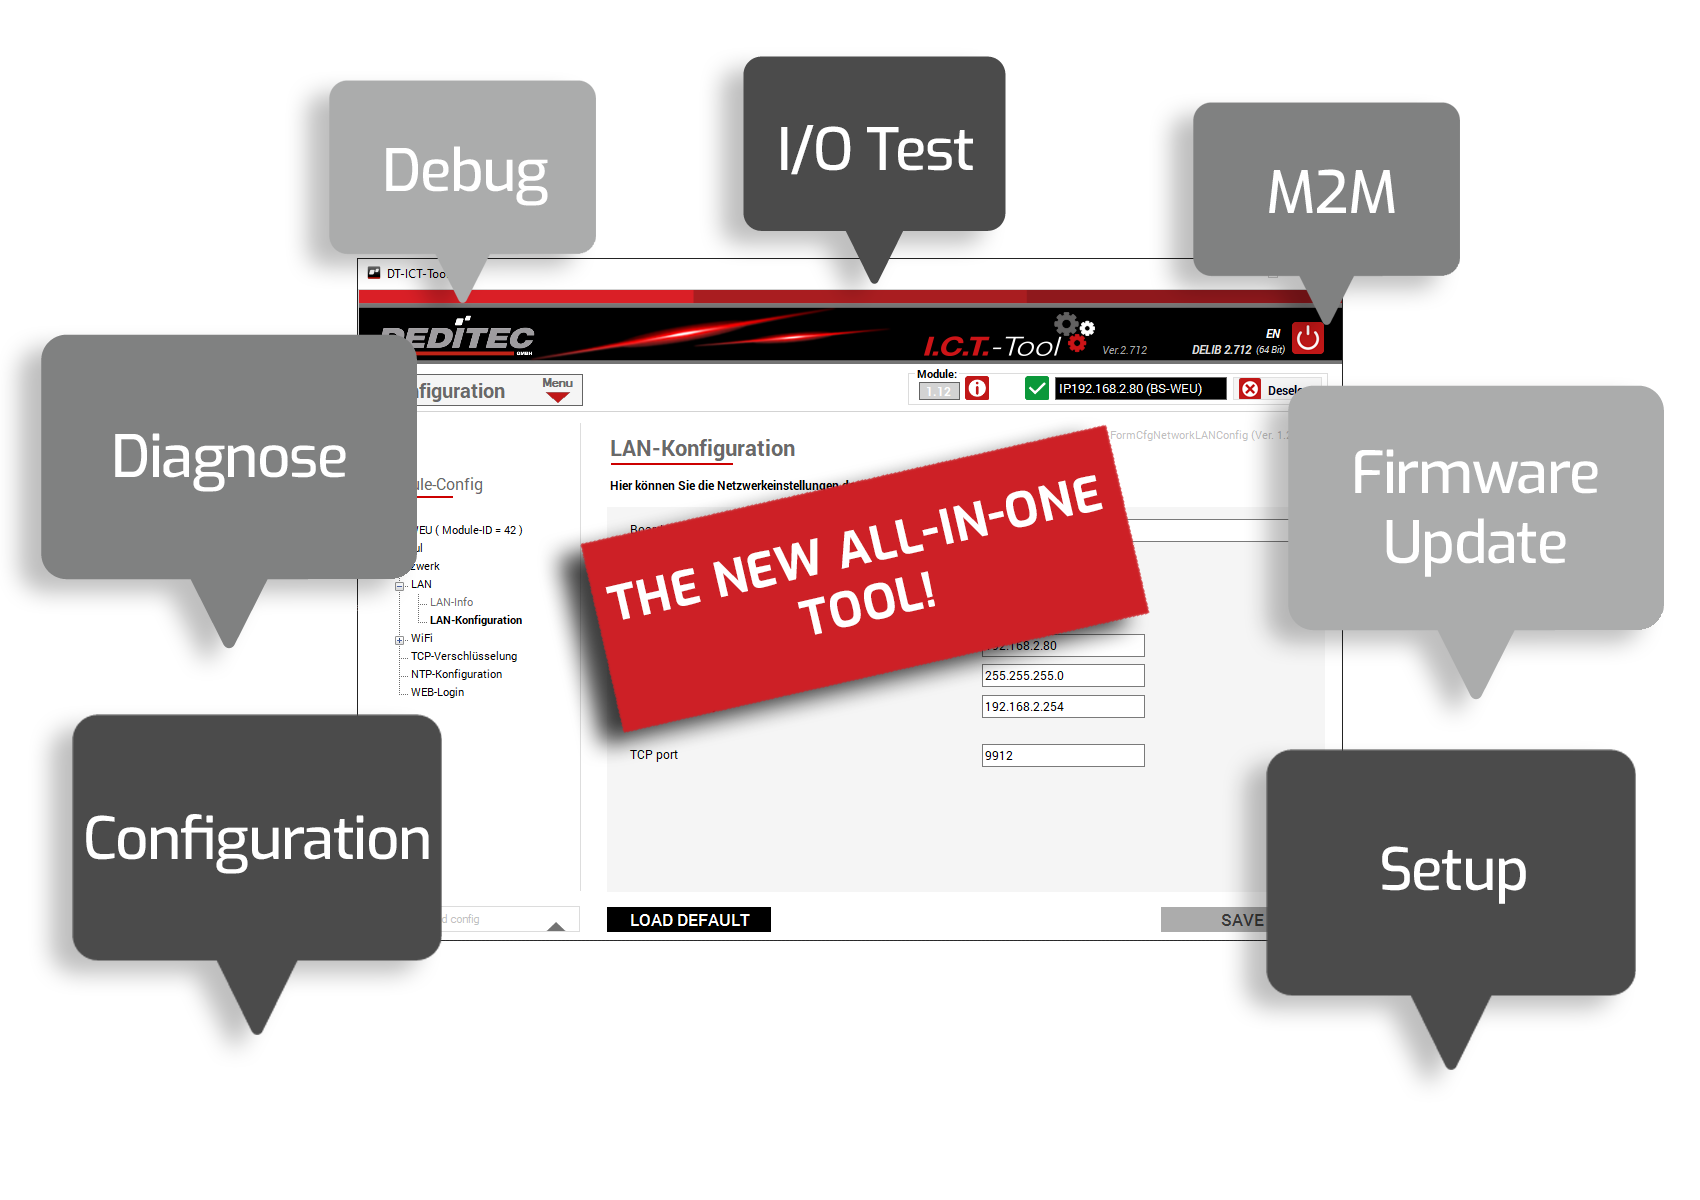
You can now make the desired network configuration in the following window and save it in the module using the "Save / Test" button.
3. Activation via the "Module configuration menu" of the ICT-Tool
To access the module's configuration menu, the module must first be integrated into the ICT-Tool.
As the factory IP settings of the module often do not match the network settings of the customer's PC, the following options are available to help you change them:
- Integration via the USB interface
- Integration via DHCP with DIP switch 1
- Direct connection to the PC * IP factory setting via DIP switch
- Integration via WiFi
Integration via the USB interface (only if available)
Connect the DEDITEC module to your PC via USB cable. Thanks to the Plug & Play function and the DELIB driver library, our modules are automatically recognized by your computer's operating system. You can now select the module in the main menu of the ICT-Tool and make the network settings in the configuration menu.
Integration via DHCP using DIP switch 1
Set DIP switch 1 on your module to “ON” and switch the module on.
The module now starts in DHCP mode and can be added or selected as a module in the ICT-Tool. You can now make the network settings in the configuration menu. Then reset DIP switch 1 again.
Integration via the IP factory settings with DIP switch 3 and crossover cable
Connect the DEDITEC module directly to your PC using a crossover cable. Set the module's DIP switch 3 to “ON” and switch the module on. The module now starts with the factory IP address 192.168.1.1. Temporarily set your PC to the same 192.168.1.x network and then add the DEDITEC module in the ICT-Tool.
You can now change the network settings of the module in the configuration menu. DIP switch 3 and the PC IP settings are then reset.
Integration via WiFi (only for WEU series modules)
By pressing the CFG button on the DEDITEC module, you activate the WPS function to automatically connect to the WLAN router of your network (see “WiFi” tab). After a successful connection, the module can be called up in the ICT-Tool via the board name stored in the router - e.g. “boardname.fritz.box” - and can be added as a new module. You can then make the network settings in the configuration menu. For support, contact your system administrator if necessary.
The module is now set to DHCP on the software side.
4. Activation via the web interface of the module
Central network settings, such as IP configuration or DHCP activation, can be made via the module's web interface.
To call up the web interface of the module, start your Internet browser and enter the IP address of the module in the URL line. -> For more details, see the "Web interface" tab
Ethernet / Static IP address
To integrate the module into an existing network, it can be permanently assigned a fixed IP address. The following options are available for configuring the module's network settings:
- Configuration via the network search function in the "Edit / Add menu" of the ICT-Tool
- Configuration via the "Module configuration menu" of the ICT-Tool
- Configuration via the module's web interface
1. Configuration via the network search function in the "Edit / Add menu" of the ICT-Tool
In the "Edit / Add menu" of the ICT-Tool, you can scan the network for connected DEDITEC modules. Any modules found are then displayed in a list view where they can be configured and saved.
Click on the "Edit" button in the line of the desired module.
You can now make the desired network configuration in the following window and save it in the module using the "Save / Test" button.
2. Configuration via the "Module configuration menu" of the ICT-Tool
To access the module's configuration menu, the module must first be integrated into the ICT-Tool.
As the factory IP settings of the module often do not match the network settings of the customer's PC, the following options are available to help you change them:
- Integration via the USB interface
- Integration via DHCP with DIP switch 1
- Direct connection to the PC * IP factory setting via DIP switch
- Integration via WiFi
Integration via the USB interface (only if available)
Connect the DEDITEC module to your PC via USB cable. Thanks to the Plug & Play function and the DELIB driver library, our modules are automatically recognized by your computer's operating system. You can now select the module in the main menu of the ICT-Tool and make the network settings in the configuration menu.
Integration via DHCP using DIP switch 1
Set DIP switch 1 on your module to “ON” and switch the module on.
The module now starts in DHCP mode and can be added or selected as a module in the ICT-Tool. You can now make the network settings in the configuration menu. Then reset DIP switch 1 again.
Integration via the IP factory settings with DIP switch 3 and crossover cable
Connect the DEDITEC module directly to your PC using a crossover cable. Set the module's DIP switch 3 to “ON” and switch the module on. The module now starts with the factory IP address 192.168.1.1. Temporarily set your PC to the same 192.168.1.x network and then add the DEDITEC module in the ICT-Tool.
You can now change the network settings of the module in the configuration menu. DIP switch 3 and the PC IP settings are then reset.
Integration via WiFi (only for WEU series modules)
By pressing the CFG button on the DEDITEC module, you activate the WPS function to automatically connect to the WLAN router of your network (see "WiFi" tab). After a successful connection, the module can be called up in the ICT-Tool via the board name stored in the router - e.g. "boardname.fritz.box" - and can be added as a new module. You can then make the network settings in the configuration menu. For support, contact your system administrator if necessary.
The module is now set to DHCP on the software side.
3. Configuration via the web interface of the module
Central network settings, such as IP configuration or DHCP activation, can be made via the module's web interface.
To call up the web interface of the module, start your Internet browser and enter the IP address of the module in the URL line. -> For more information, see the "Web interface" tab
Web interface
All central network settings for the module can be made via the module's web interface.
Access to the web interface
Access to the web interface
To call up the web interface of the module, start your Internet browser and enter the IP address of the module in the URL line. The access data is set at the factory as follows:
| IP address: | 192.168.1.1 |
| User name: | admin |
| Password: | admin |
If you do not know the IP address of the module, simply use the network search function in the "Edit / Add Men" of the ICT-Tool or look at the IP address assignment in your router.
You can also find more information on this under the "Static IP" or "Dynamic IP" tabs
WiFi (only supported by our WEU series modules)
All modules in the WEU series have an integrated WiFi interface. The connection to a WiFi network can be established either via the ICT-Tool or by pressing the CFG button on the module. You can then make further network settings in the configuration menu. The following options are available for establishing a WiFi connection:
- Establish WiFi connection via button
- Establish automatic connection via ICT-Tool (WPS)
- Establish manual connection via ICT-Tool
1. Establish WiFi connection via button
By pressing the CFG button on the DEDITEC module, you activate the WPS function to automatically connect to the WLAN router of your network.
Different modes are activated depending on the duration of operation:
- 3–6 Press and hold for seconds: Activate WiFi
- 7–12 Press and hold for seconds: Start WPS connection
- 13–15 Press and hold for seconds: Deactivate WiFi
A status LED on the module indicates the current mode by flashing.
WPS - Simple connection to the network
WPS (WiFi Protected Setup) makes it particularly easy to connect to a WLAN network - without having to enter a network name or password manually.
This is how the WPS connection works:
- Activate WPS mode on the module (press the CFG button for 7-12 seconds)
- Press the WPS button on the router within 2 minutes*.
- The connection is now established automatically.
* Note:
For this type of connection to work, the router used must support WPS. Otherwise, the WLAN connection must be set up manually via the LAN configuration in the ICT-Tool.
2. Establish automatic connection via ICT-Tool (WPS)
A connection to the router can be established automatically in the WPS tab. To do this, press the “WPS Start” button and activate the WPS function on the router within two minutes. The devices will then connect to each other automatically.
3. Establish a manual connection via the ICT-Tool
If the router login data is known, a connection can be established in the WiFi configuration tab by entering the user name and password. Please note that WiFi must also be activated.
